What do German engineering and dental research have in common?

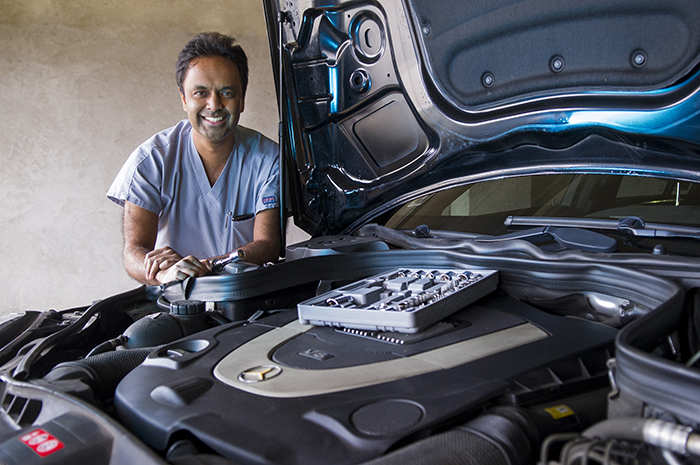
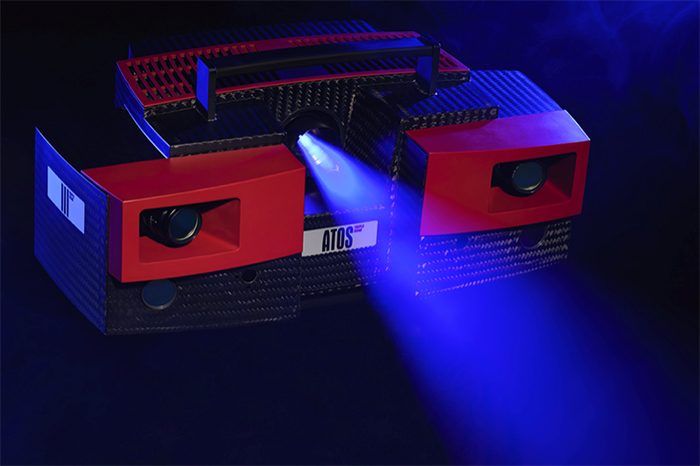
The GOM ATOS III scanner is one of the most advanced pieces of machinery in the industrial quality-control sector, with its advanced hardware and software shaping some of the most respected names in the automotive and aerospace industries. This optical 3D metrology system is affiliated with BMW, Mercedes-Benz, Rolls-Royce and even Airbus. And now, thanks to the research of one prosthodontics graduate student at Texas A&M College of Dentistry, the German company can add dentistry to its list of industries.
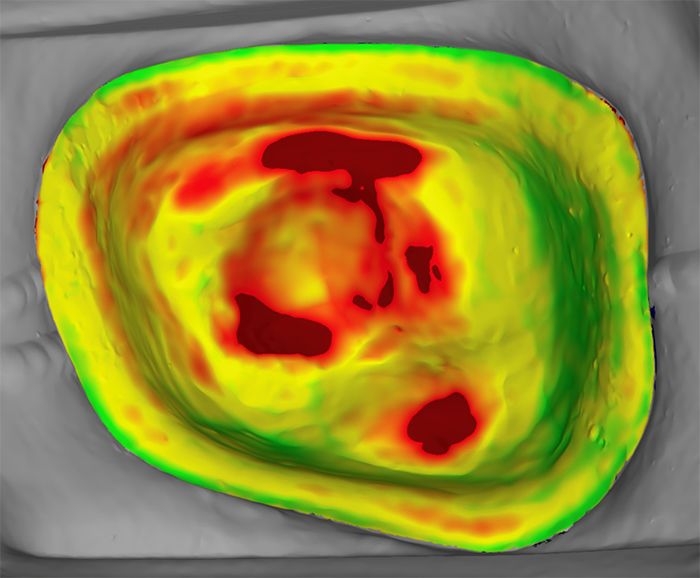
Dr. Druthil Belur, who defended his master’s thesis in late February, isn’t the first to compare lithium disilicate crowns made from the conventional heat-press technique versus the CAD/CAM — computer-aided design and computer-aided manufacturing — technique. What is novel about his research is the fact that Belur opted to compare the marginal and internal fit of both groups of crowns with this behemoth scanner that boasts an extremely high level of accuracy, scanning his samples with a precision of 4 microns.

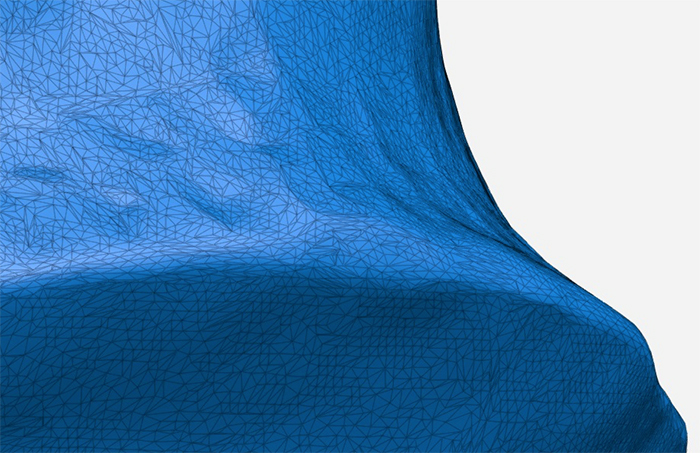
Belur did not have to ship the samples to Germany; GOM’s North American partner Capture 3D, based out of Michigan, offered a closer alternative for the automated metrology. Ironically similar in appearance to a 1980s-era boom box, the $280,000 scanner was used to scan the two groups of crowns and subsequently analyze the data with its built-in software using a best-fit algorithm. Belur’s research design generated more than 145,000 points of measurement — by comparison, the consensus in dental research for analyzing samples is considered to be about 50 — which should put to bed any question of which crown fabrication method attains greater accuracy.
“The average measurements with the CAD/CAM group showed smaller variances than those with the pressed group,” Belur writes in his abstract.

Belur’s technology of choice garnered the attention of faculty throughout the college and his peers across the country. This spring, he is invited to New York City to present his research to hundreds of dentists and receive the 2018 Granger-Pruden Research Award from the Northeastern Gnathological Society.
While quality control in the clinical setting is more dependent on the fit of restorations or appliances, 3D optical technology is growing in the academic research arena.
“Newer techniques are a ‘proof of concept’ for evaluating emerging technology and comparison to existing methods of fabrication,” says Belur’s thesis chair, Dr. William Nagy, professor in the Department of Restorative Sciences.
The impetus for this is simple, Belur says.
“There is a significant transition in the dental manufacturing industry using CAD/CAM,” he says. Belur predicts that within a decade, as CAD/CAM software and hardware continues to evolve, all dental practices will utilize automated methods, leaving behind conventional processes.
